Sunday, September 11, 2011

HTML fun: mouseover tutorial


I have been sitting on this tutorial ever since I read through SouleMama archives many months back.
Until I started tagging my images over in my personal blog, the mouseover trick had been collecting dust under the depth of a mile long Read-It-Later list.
Then I discovered and started playing with HTML codes (it's so fun!), and the tutorial was dug up and put on top priority list, just waiting for the right moment.
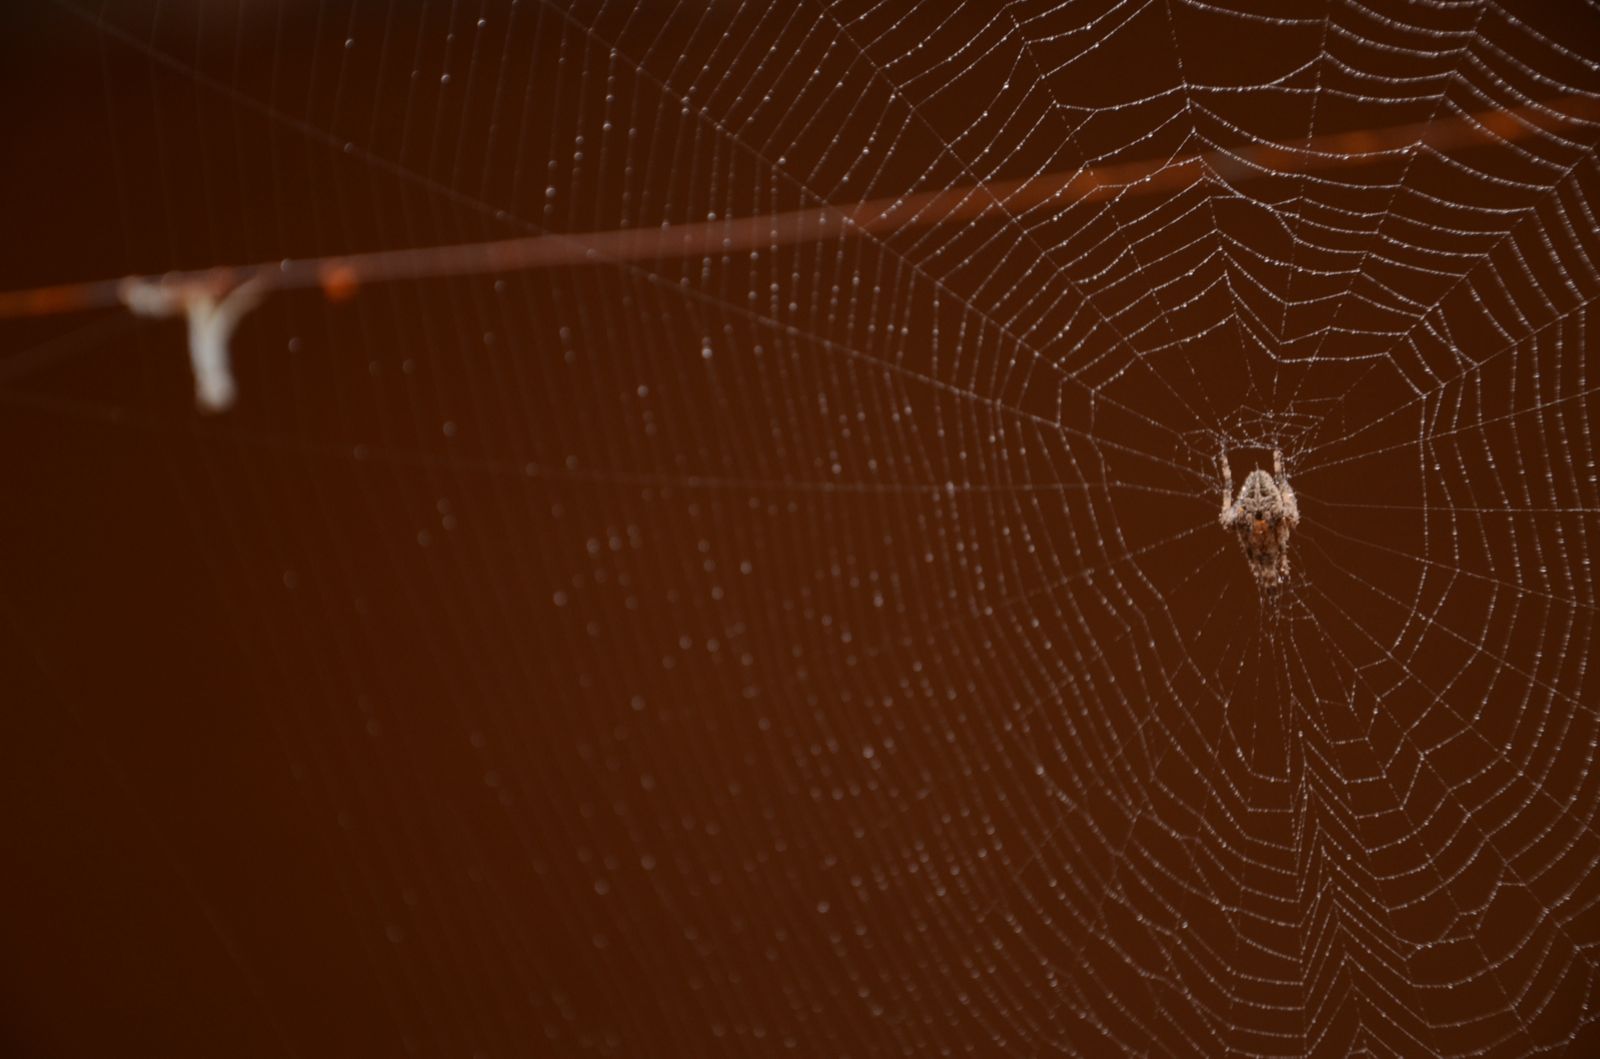
The moment came with Kecil's birthday and our weekend outing for the celebration. You can check out the post here, or you can use the image above. I simply cut and paste the whole code, so it's the same image.

Still don't know what I'm talking about? Try moving your mouse over the image above, and take the mouse out of range of the image. You see what I'm talking about now? Cool ya?

Here's how I did it:
  • First you need to prepare 2 images of the same dimensions, which you can either upload to image hosting of your choice (I usually upload mine to Picasa, since I can then place the image into my blog post very conveniently using the Blogger WYSWYG editor)
  • Place the first image into your post 
  • Then go to edit HTML
  • You want to locate the line below:
  • <img border="0" height="320" src="http://image1.JPG" width="256" />
  • Add the following addition anywhere within the <img .... /> onmouseover="this.src='http://image2.jpg'  "
    onmouseout="this.src='http://image1.jpg' "
  • Your line should now be something like this: <img border="0" height="320" src="http://image1.JPG" width="256onmouseover="this.src='http://image2.jpg'  " 
    onmouseout="this.src='http://image1.jpg' " />
  • which will give you Image 2 when your mouse hover over the image area, and Image 1 when your mouse is else where.
Just a few notes:
- Ensuring that your original 2 images are of the same dimensions will prevent any distortion
- I find that using Blogger original HTML codes as my base works well with me as a newbie since I don't really have the confidence to write from scratch. This is why I mainly use the WYSWYG editor and then just modify the code bit by bit.

Have fun!

Saturday, September 10, 2011

Creepy Crawlies


All these thinking about useful content is slowly killing me. 
So I decided to put on my creative hat, and just go out with the camera for the fun of it.


This rainy season, we apparently host a spider on our drying lines.
The spider, being pretty small, is able to hide itself in this stray strand of thread on the line, and build its web whenever nobody is looking.
Unfortunately, its size might have worked against it, as the rain almost inevitably bring down the web.
Well... that and also the occasional sunshine as we use the drying lines for its proper use.

I have been trying to capture our 'guest' for a while. Here's what we have so far:


Following some advice that I got of Digital Photography School, I sprayed some water on the web to make it more visible. The spider did not seem to like it much as it quickly pulled itself into a tight ball.
By the way, the stray white stuff in the background is that stray thread that is often used as the spider's hiding place when its web is down.

Soon after my spray bottle was commandeered by my 'assistant'.


I never expected myself to be fascinated by spiders, or any other creepy crawlies in general. However this particular spider fascinated me with every single effort to build up its web every time it was hit by rain.

Of course, the start of my fascination might also have come from the long ago photography assignment from DPS, the first one that I actually entered. Somehow, being told to photograph some creepy crawlies had changed my mindset from simply dismissing them to appreciating their beauty.

And just incidentally, we found more beautiful spiders not unlike the one I photography back then.


Unlike our puny 'guest', this one is huge! and its web had been withstanding an impressive amount of battering in the form of rains, winds and storms for the past weeks.
(Uhmm.. yeah, I have been checking out on it whenever we go out for our walkies).
The other interesting thing is also that on that tree where it makes its web, there are also two similar spiders building their webs. Huh! Imagine that.


It so happen that when I got my camera, the sun was shining through, illuminating the web so I did not have to spray any water. I don't think I don't dare to disturb this big a spider.
Just look at those legs!

That picture above, I have to admit, is my favorite so far. It's still far from perfect, but I simply love how the web lines simply draw your eyes along until you found the spider waiting for you at the end, ready to pounce.
It just speaks to me of the dangers lurking under the beauty found in nature.


Although these pictures are still far from perfect, I am pretty glad with the quality in general as they stand as testament to how much I have improved in my photography. With the serious upgrade of hardware, at least I am showing some progress since the last time I tried my hand on insect photography.
Oh, and no getting bitten, either! Hahaha!

So, have you done anything just for the fun of it lately?
Bonus points if the activity reveals some kind of personal progress.

Tuesday, September 6, 2011

Just google it!

Google screen shot
Still remember that 101 things I learned last week? Hoo yeah, I'd like you to meet my facilitator up above. My dearest Uncle Google.

Having jumped onto the internet bandwagon from 1996, I guess I have lived with the knowledge that you can find out just about anything from the internet. Anything.
Translating that knowledge into practice, however, is not quite an automatic.
Seriously, do you really Google every single question that came to your mind?
Not really.
Most of the time, I might stumble into the "I wonder..." mode, but simply left it hanging there.


It feels like such a huge waste, to have this very powerful tool in your hand and failing to use it, especially when it might prove to be to your benefit.

I really should get on with Googling things.
There's no harm, right? It's free, it's quick. In time, you might even increase your knowledge in general, and hopefully make you a better person.
There is no social cost of embarrassing yourself in front of anyone. It's just a series of computer algorithm.
I guess the only thing is just about the time aspect.
You'll never know where you'll get sucked into once you embark on your search.

Still, I did learn a LOT of things from acting on "I wonder..."s.
Yeah, like about 101 things.
So.. I guess it's not that bad.


How about you? Have you Googled anything lately?

Sunday, September 4, 2011

Taking screen shot in Mac

Mac screen shot
There are many ways in which you can use screen shots, especially if you are a blogger:
- to be included in your recommendation of this or that websites
- as illustration when you want to share a bit about your workflows
- as a quick visual record of things such as your own bog as well as other blogs in your reading list
- for grabbing quick images (of course, if you grab somebody else's image from the net and blog about it, it's only polite to attribute the image)
- and many more. I'm sure you can think of some other things. Including just for fun.
The Apple website does have a very short and sweet instructions for Mac capture screen which you can refer to. So, here I'll just cover other things such as the difference between the different methods, as well a few things to note that I learn from my own experience of using screenshots.


Shift++3
will give you a shot of everything on your screen at point of capture: your open application, the clock, battery indicator, everything. Check out my sample shot below:
Full screen shot (with excel)
Notice that the shot includes the Dock, my formula tab, my various indicators at right hand side, basically everything.
Suppose you do not want the whole desktop captured? You can either edit the first shot above, OR you can use the 2nd option:
Shift++4
Will turn your mouse pointer to a crosshair (with nifty numbers that indicate the size of your selected area in pixel) that will allow you to capture a selected area in your screen.
This selection can span different active windows, just as long as they are on your desktop.
You can see the comparison below:
Messy desktop (full screen shot)
Cascading corners using 2nd option
Pretty cool, but maybe sometimes you just want to show the whole of ONE active window, like maybe a browser, opened at a website you'd like to showcase. That's when the 3rd option is useful:
Shift++4+space
Will capture an active window of your choice.
As mentioned in the Mac tutorial, your mouse pointer would change 'shape-shift' to a small camera. Click the camera at your chosen window and you'll get your shot of just that window.
So, let's just say we start from the same cluttered desktop above:
Messy desktop
And you just want to take a shot of your web browser, basically you press the necessary combination of buttons on your keyboard, and click on the browser, and this is what you'll get:
Browser screen shot 1
Awesome, no?
Now for my own notes:
Additional notes
1. In my computer, all these images would be saved directly to my desktop in .png format. Very easy to find, and taking no time at all.
2. My images range from 50kb for a small selection shot (option 2) to a couple of hundreds kb for full window shot. I think it depends on how complex the picture is.
3. Of all 3 options, I think my favorite is the 3rd option (shift+⌘+4+space). It's slightly more tedious, but the resulting image is the most streamlined and fabulous looking among the rest. I love the slight shadow under the window. You might want to adjust your image posting preferences, however, as the shadow might interfere with your default image framing.
4. Privacy.
I like to have my bookmarks at my fingertips when I am browsing, but really, I don't really need the whole world to know which sites I bookmark. Yes? So before taking any window shot, I might want to first hide my bookmarks by using the browser preferences. Doing this, however, is a pain because I would have to return the settings to normal for my normal browsing activity.
If you look at the picture below, you'll see what I mean:

Browser shot comparison
My Firefox actually have a cool cat skin, which I like very much, but maybe I don't really want to show it to everyone. Now you see the tiny button encircled with the heart? That's your key for a quick, painless shot.
Click on that button, and it will hide/show your private stuff (like address bar, bookmark bar, etc).
This button is actually available in most Mac application, hiding/showing select toolbars. A very handy tool, indeed. For some reasons, it's not available in Safari, though.
That's all for today's tutorial, folks. I hope you find it useful, at least for the Mac users among you. I seriously have no idea about PC screenshots. Sorry!

Saturday, September 3, 2011

The 101 things I learned last week ...

the story
was that I had to finish a marketing plan as part of my study requirement.
It was ... let's just say that the result was more of a study of the things that you should NOT do in making a marketing plan.
The words dismal, incomplete, full of unmentionable things ... came to mind when I try to describe the end result. Sigh.


Still... on the good side, I have never seen myself applying so rigorously to the task ... of NOT doing the plan.
Oh dear. I surfed the web, I contemplated website designs, I played computer games I barely even enjoy, all in the name of NOT doing the work.
Unbelievable! Absolutely unbelievable!
So... yeah, I did learn quite a few stuff. Just too bad that it was not quite directly (or remotely) related to the project on hand at that time.
And with the submission deadline safely 12 hours behind, I have been gleefully reveling in the legitimacy of my other pursuits.
Like a 2-hour de-stressing using the aforementioned computer games straight after submitting the reports. Huhhh!

As for the other 101 things, I learned:
- that I am really bad with finishing a list. A month of useful content? Gone. A week of feature on the Dog? Lost in transit, or something. Other series? MIA without any trace.
- how to do html tags for my images
- that I'm not so keen on tagging my images one by one manually, and I simply let it lie
- there are many free beautiful blogger templates out there
- that I prefer using the old Blogger interface than the new one
- there are tools that would allow me create my posts offline (and hopefully help me improve my blogging in general!)
- New terms such as deep-linking, custom 404 page, favicon
- that I love certain aspects of designing
- how to be a code peeper (even if I have not much idea about coding and such)
- how to take proper screen shots (see picture above)
- the value of being organized
- how to 'upgrade' my personal blog using a free template not from Blogger's collection (see picture above. I'm so excited!)
- Googling is a very much under-utilized tool in my hand. I need to ask more question to Google.
- .....

Well... actually, now that I list them out, they are not really 101.
But especially after installing the new template successfully, with hardly any glitch, it just felt like a HUGE, BIG thing that I learn today.
And the accumulation of all those web-browsing, game-playing, generally-avoiding-real-work thingies just seem like a lot of new things learned over the past week.

Anyway, it's late, and I still have another program to install. We'll see if we can start sharing some of the knowledge I thought I learn from last week with all of you.
Thank you for staying in tune.

Edited 05/09/11 to add:
d.i.s.t.i.l.l.e.d is strictly my private diary, and hence, the perfect testing ground for my various experiments. I don't think I'm going to share the link, though. Hehehe.. just because I am mean like that. But I might still share screen shots. Cos I'm nice like that.