

About a year ago, we went for Food Festival in Kecil's friend's school. Right at the end, a spectacular show of fireworks finished off the event. Too bad that, as old as the camera was (1 year with me then!), I have yet to learn to take picture of fireworks. Ish! I didn't even know if there was a 'fireworks' mode that I could use on the camera. When I tried taking shots, the camera just refused to co-operate. You know when you press the shoot button and the lens just focus and refocus and the camera simply did not shoot? Sigh....
Fast forward almost a year later, we found out that the two malls that had sprung up in town through the year were going to have some fireworks through the month of December, 4 days in celebration of 1 year anniversary of the mall, the other 4 just for festivities' sake. Way cool! So... armed with still the same camera, a newly inherited tripod (my father-in-law found it in his storage) plus some newly acquired knowledge gained from reading on the net, we set off to shoot me some fireworks.

And I straight away got these. Yeah, right.
Despite the knowledge, the tripod and everything, there are still other things to figure out. But at least I got a few pointers right already:
- Focus: I used larger f-stops (f8 to f11) since I want larger depth of field. I started by focusing on the top of the building from whence the fireworks was supposed to spring. (It was lit up, lucky me)
- Exposure: Started from 2s and increase in increment to get a picture that I like. Most of my pictures are shot in 2 to 3 seconds.
- ISO: Since 2s is a fairly long exposure, I turn down the ISO all the way down to 100. This results in picture with no or less grain.
- In order to be able to 'play' with point 1 and 2, of course the camera had to be set on Manual mode.
Some of the difficulties I encountered:
- How much to zoom? I liked the idea of having some points of reference, hence I first tried including some landmarks, but as it turned out, I prefer the results when I zoom closer, just far enough to have the whole shape of the blast in the frame. You can see in the top picture, the shape was slightly cropped because I zoomed too near. Which brings us to the next point...
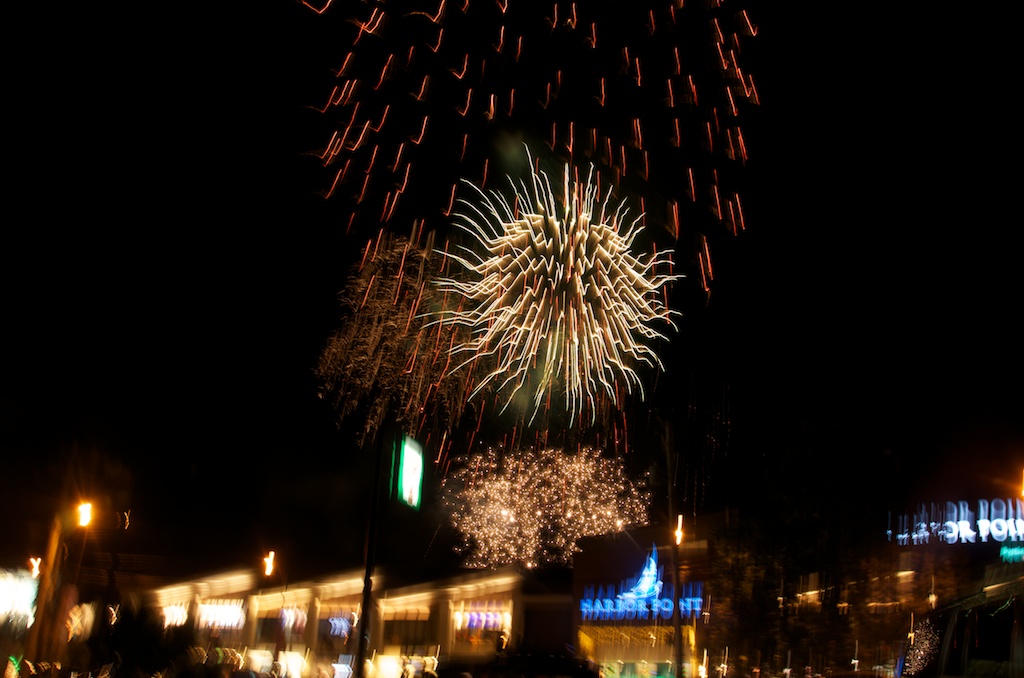
- Which direction? The clearest, best pictures are taken when the camera is still. However, when I zoomed in, some burst would happen outside the frame, and I had to adjust the direction. That's when the following happens:

You see the squigly lines? Light trails, we call them. Remember that you are shooting at a lower shutter speed. So when you move the camera (and the lights remain stationary), you'll have light trails. Indeed, fireworks photography is all about light trails. You just want the light trails from the firework, and not from camera movement.
- Impatience. At one shot, the fireworks actually started later than scheduled, so... I was already inside the store (with the tripod packed in the car) when the fireworks started. I thought I would just watch and not take pics, but my hands got itchy. So...

This one was not bad, but seriously, you really need a tripod. Here's when the movement is worse:
Have to admit, the burst was pretty spectacular, but so was the camera shake. Dang.
All in all, it was a good learning experience. And it was even better because the events actually prepared me for the final big event: New Year! Woohoo! Not to say that I managed to overcome all the difficulties above, but at least I was already aware of those pitfalls. Here are some from the new year:


We love all the big burst, because our selected location was a bit far. We were hoping to catch most of the fireworks happening all over town. But as it turned out, perhaps it was a wee bit too far. Haha...


Twas a great night to start the year, especially when I got to use my new-found knowledge. So cool. Looking forward to learning even more things in the new year. Cheers!
No comments:
Post a Comment